Product Walkthrough
Follow this step-by-step guide to learn how to use our key features, from taking notes to generating and sending AI-powered sewer reports.
Step 1
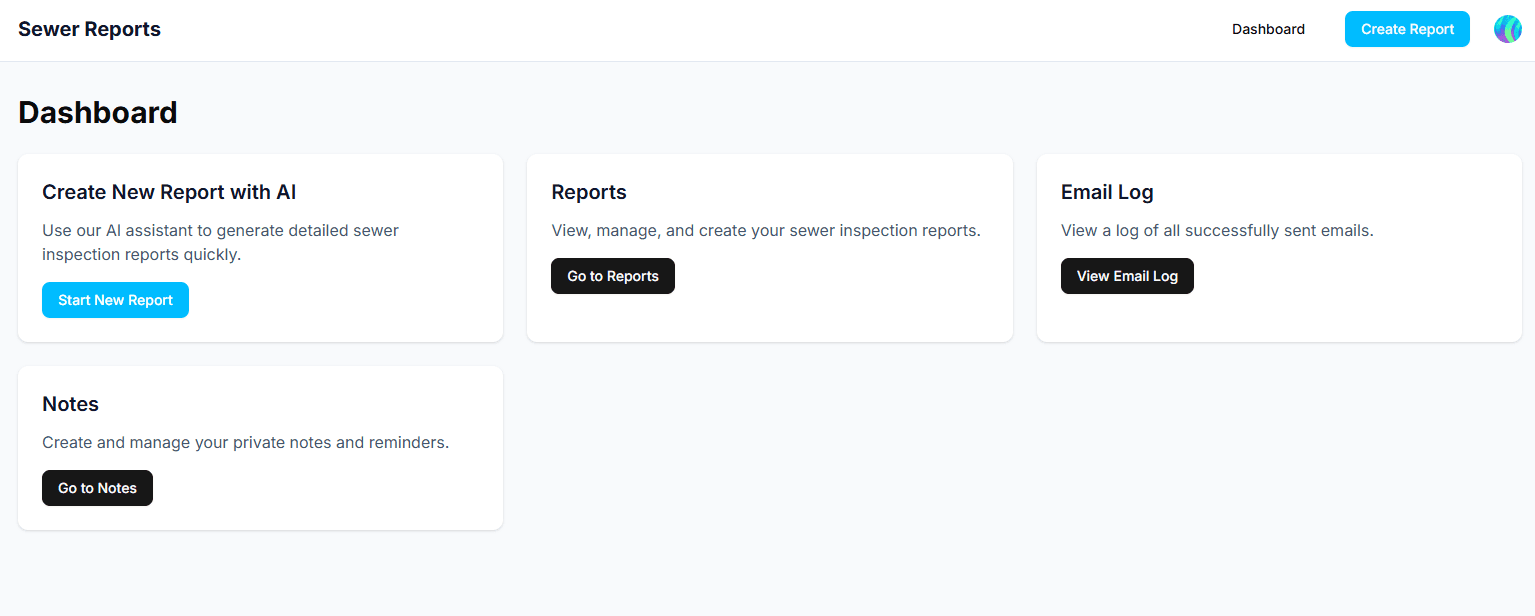
Step 1: Access Your Notes
From your main dashboard, navigate to the 'Notes' section to begin.
Step 2
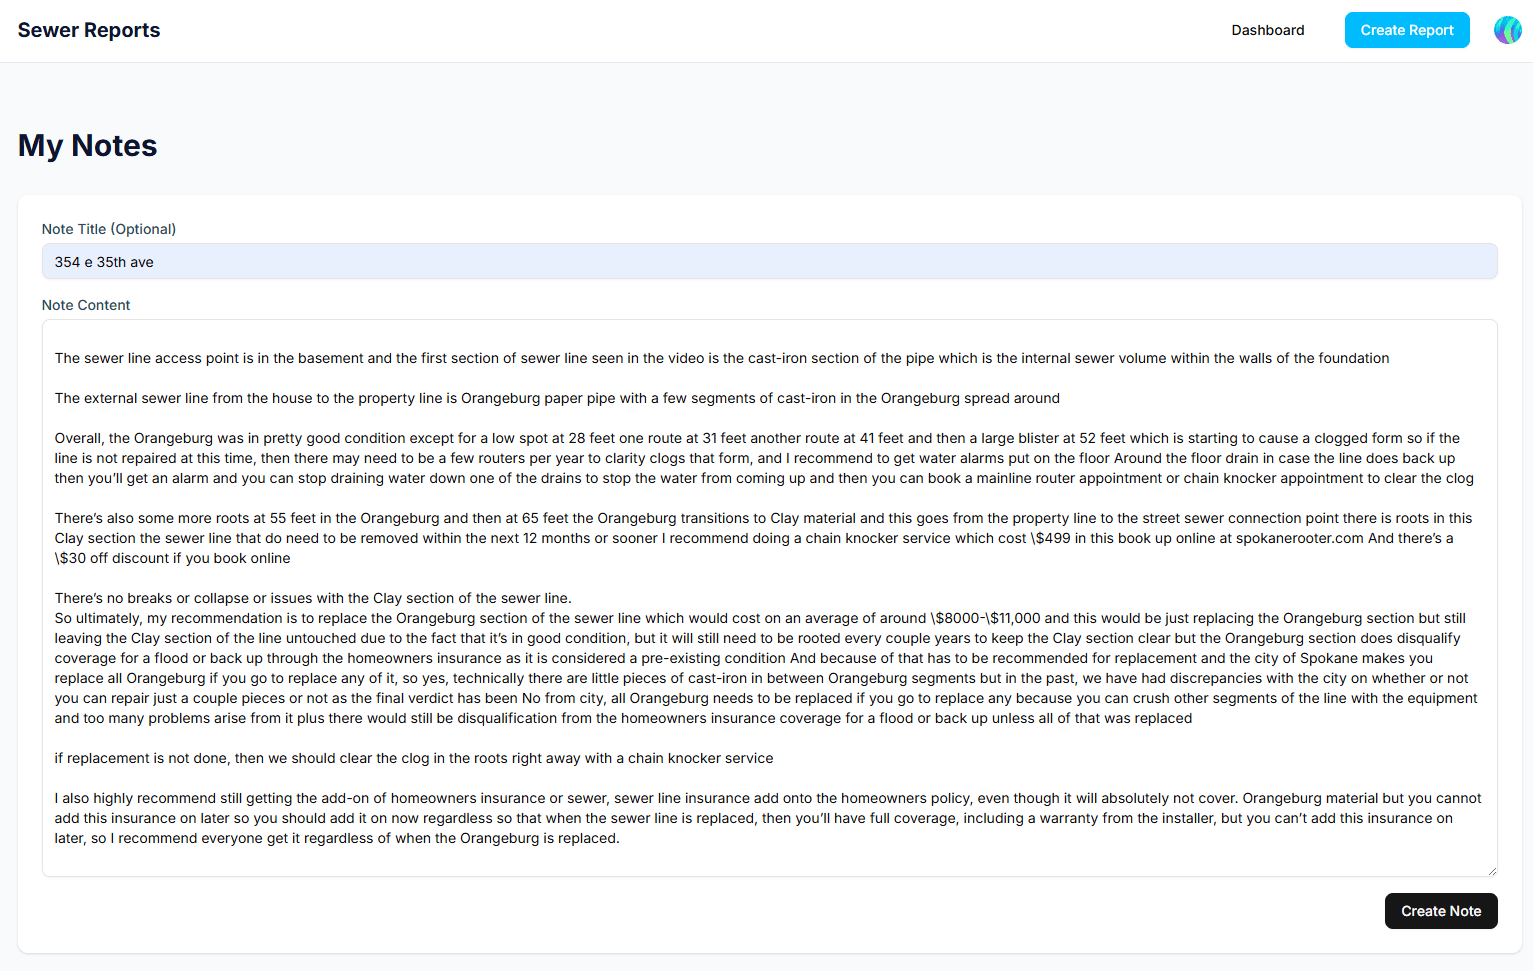
Step 2: Write Down Your Observations
Create a new note and jot down all the details and observations from your sewer inspection. Be as detailed as you need!
Step 3
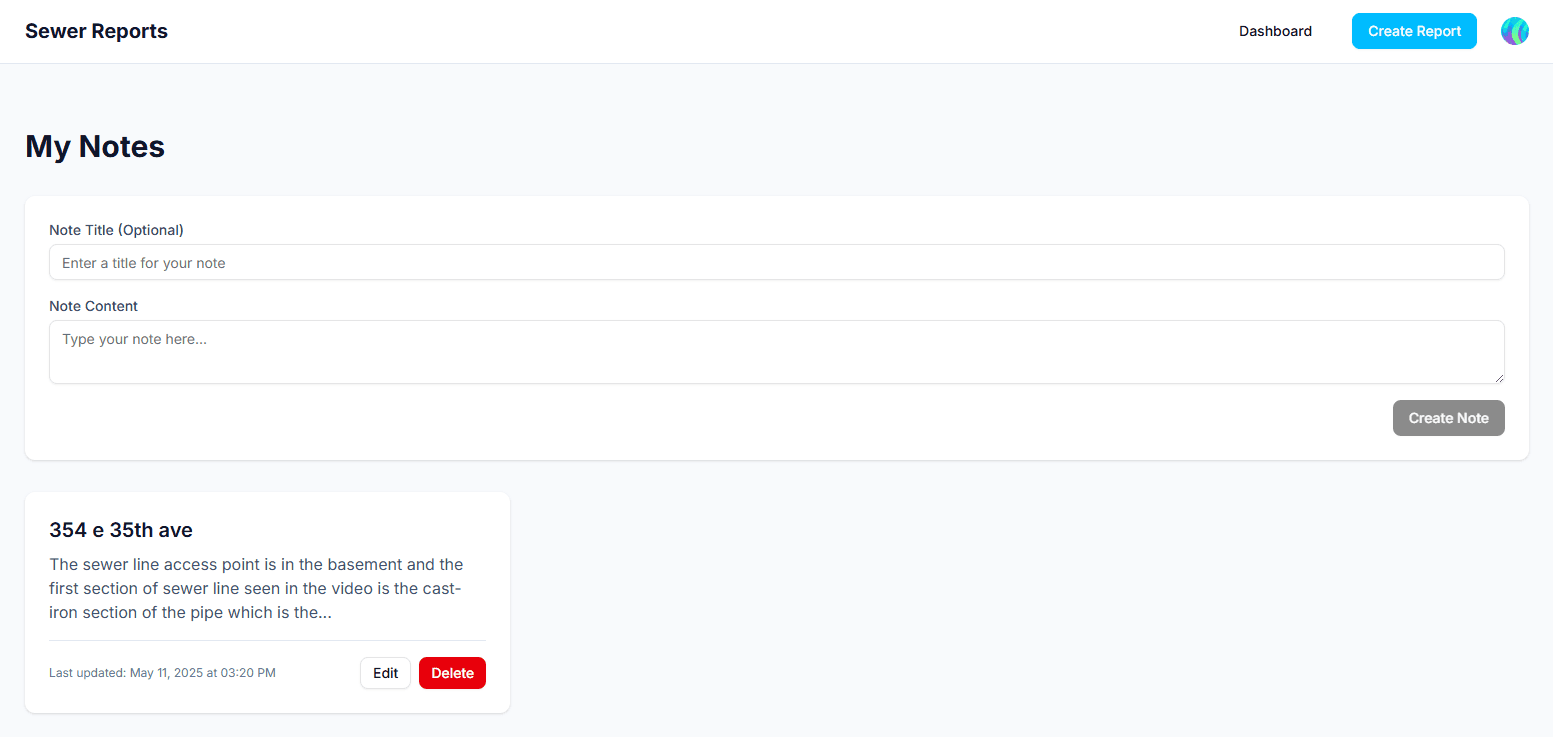
Step 3: Save Your Inspection Note
Once you're done writing, save your note. It will be securely stored and ready for the next step.
Step 4
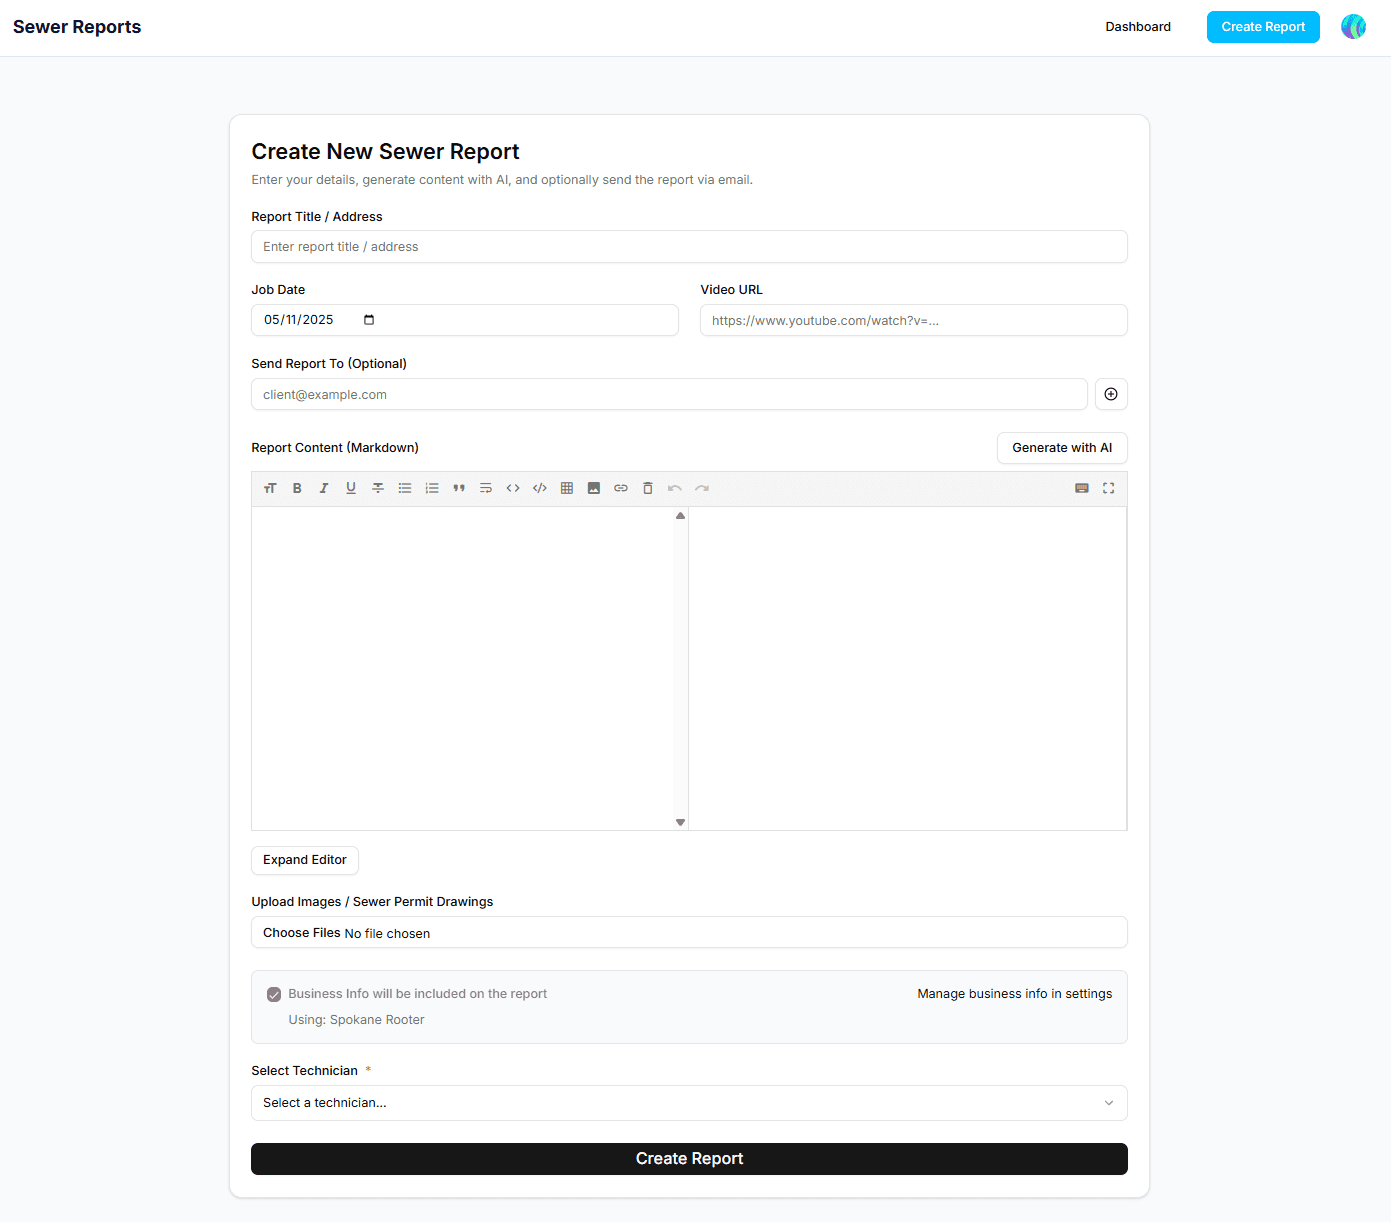
Step 4: Navigate to Create Report
Head over to the report creation area. You can typically find a 'Create Report' or 'AI Generate' button in your navigation or dashboard.
Step 5
Step 5: Open the AI Assistant
Click on the 'Generate with AI' button to open the AI assistant. This is where the magic happens!
Step 6
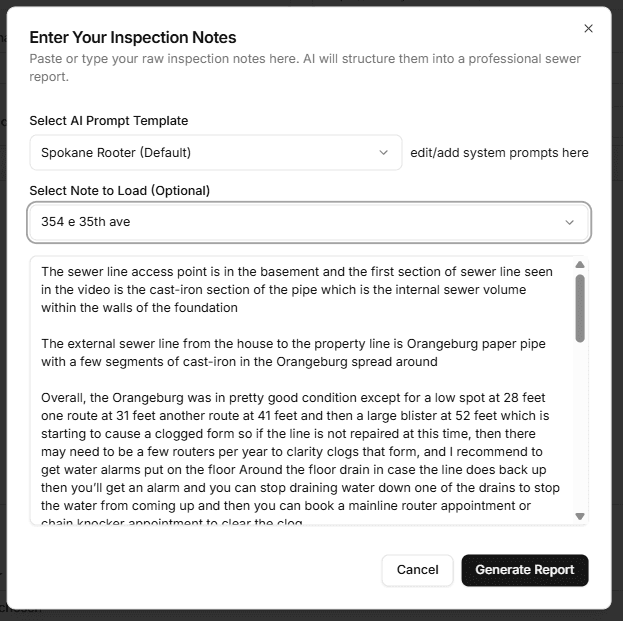
Step 6: Load Your Note & Generate
Inside the AI assistant, use the new dropdown to select your previously saved note. Its content will populate the text area. Then, click 'Generate Report'.
Step 7
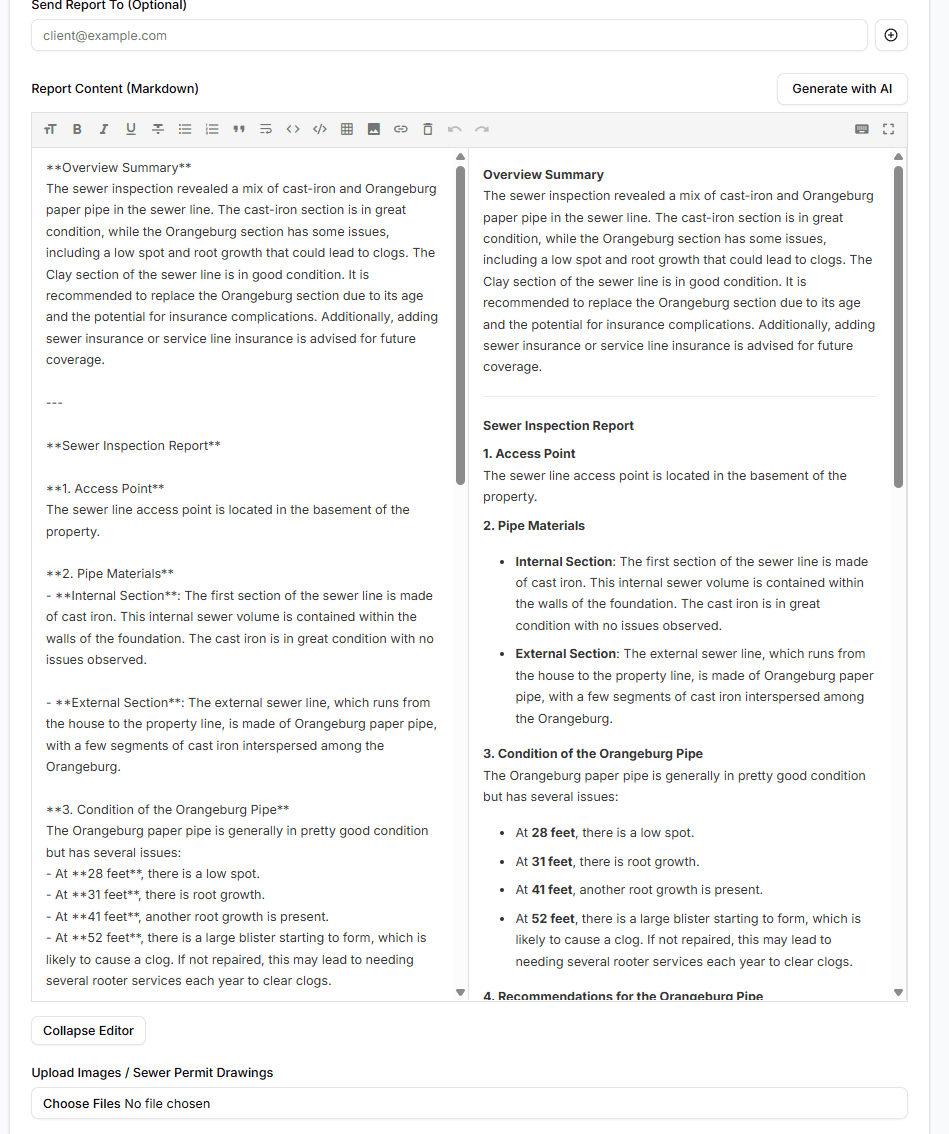
Step 7: Review Your AI-Generated Report
The AI will process your notes and generate a structured sewer report. Review the content in the editor.
Step 8
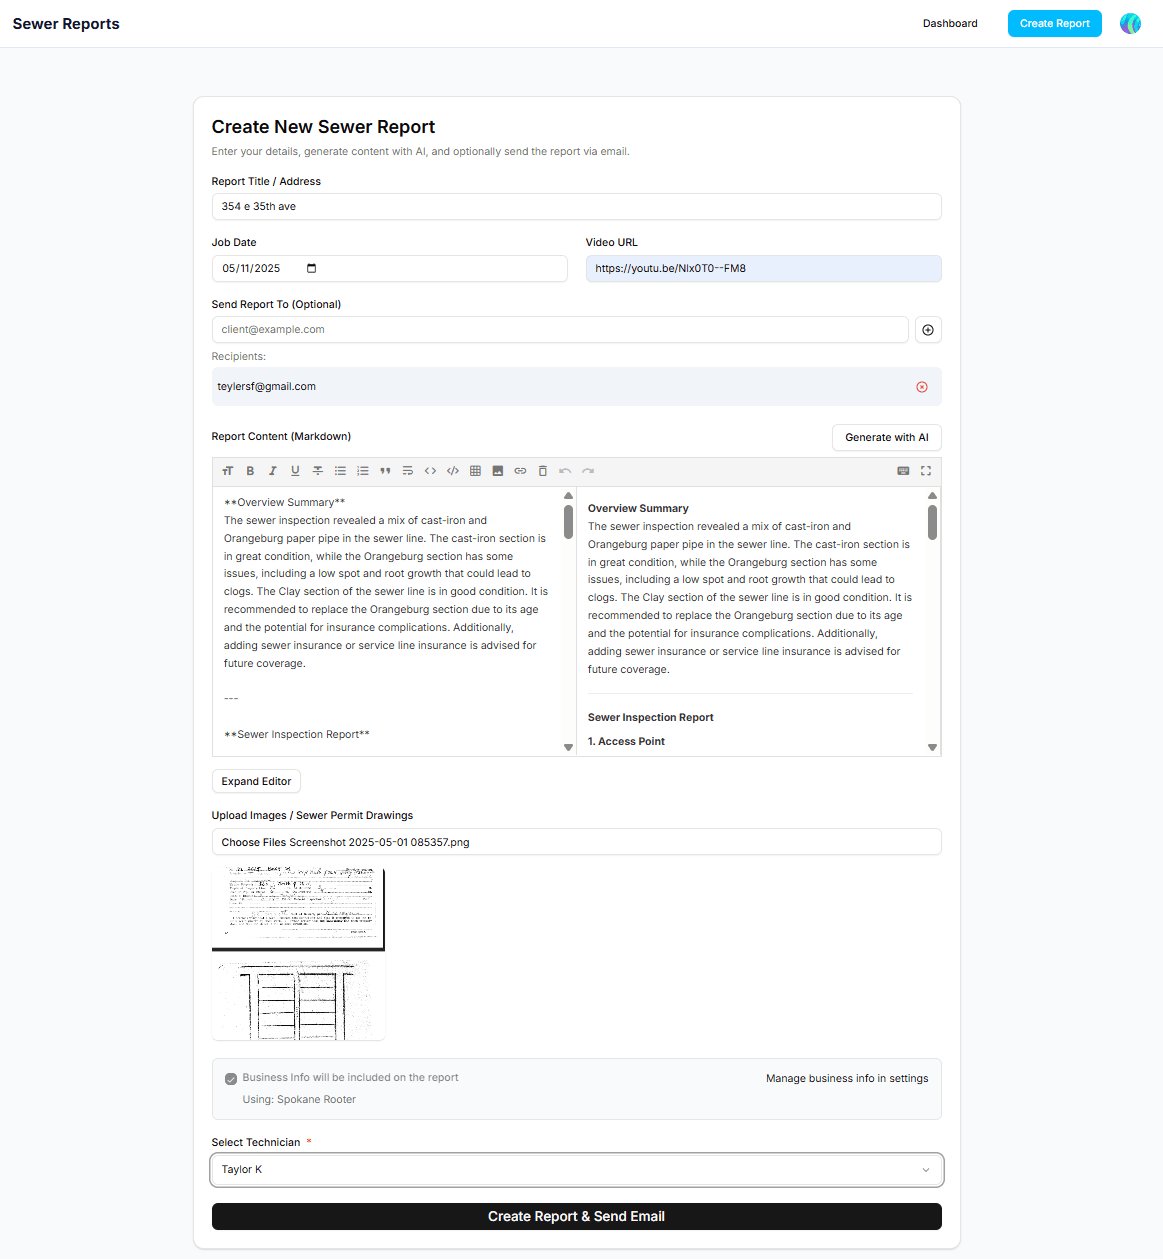
Step 8: Finalize and Send (Optional)
Add any final details to your report, such as job date or video URL. If you need to send it, enter recipient emails and submit.
Step 9
Step 9: View & Share Your Report
After your report is generated and saved, it's accessible via a unique public URL. You can view it, and if you've emailed it, your client receives this link. This makes sharing easy and professional.

Step 10
Step 10: Track Sent Emails
After sending, you can visit the 'Email Log' section in your dashboard to see a record of all sent reports, including a preview of what was sent.